
Vintage Cane Chair Makeover
This year I got the chance to participate in the ‘Chair-Lift’ Challenge at The Winnipeg Renovation Show. You may remember a few years back I did the ‘Great Crate’ Challenge. So when the opportunity for this challenge came my way I did not hesitate to say yes!
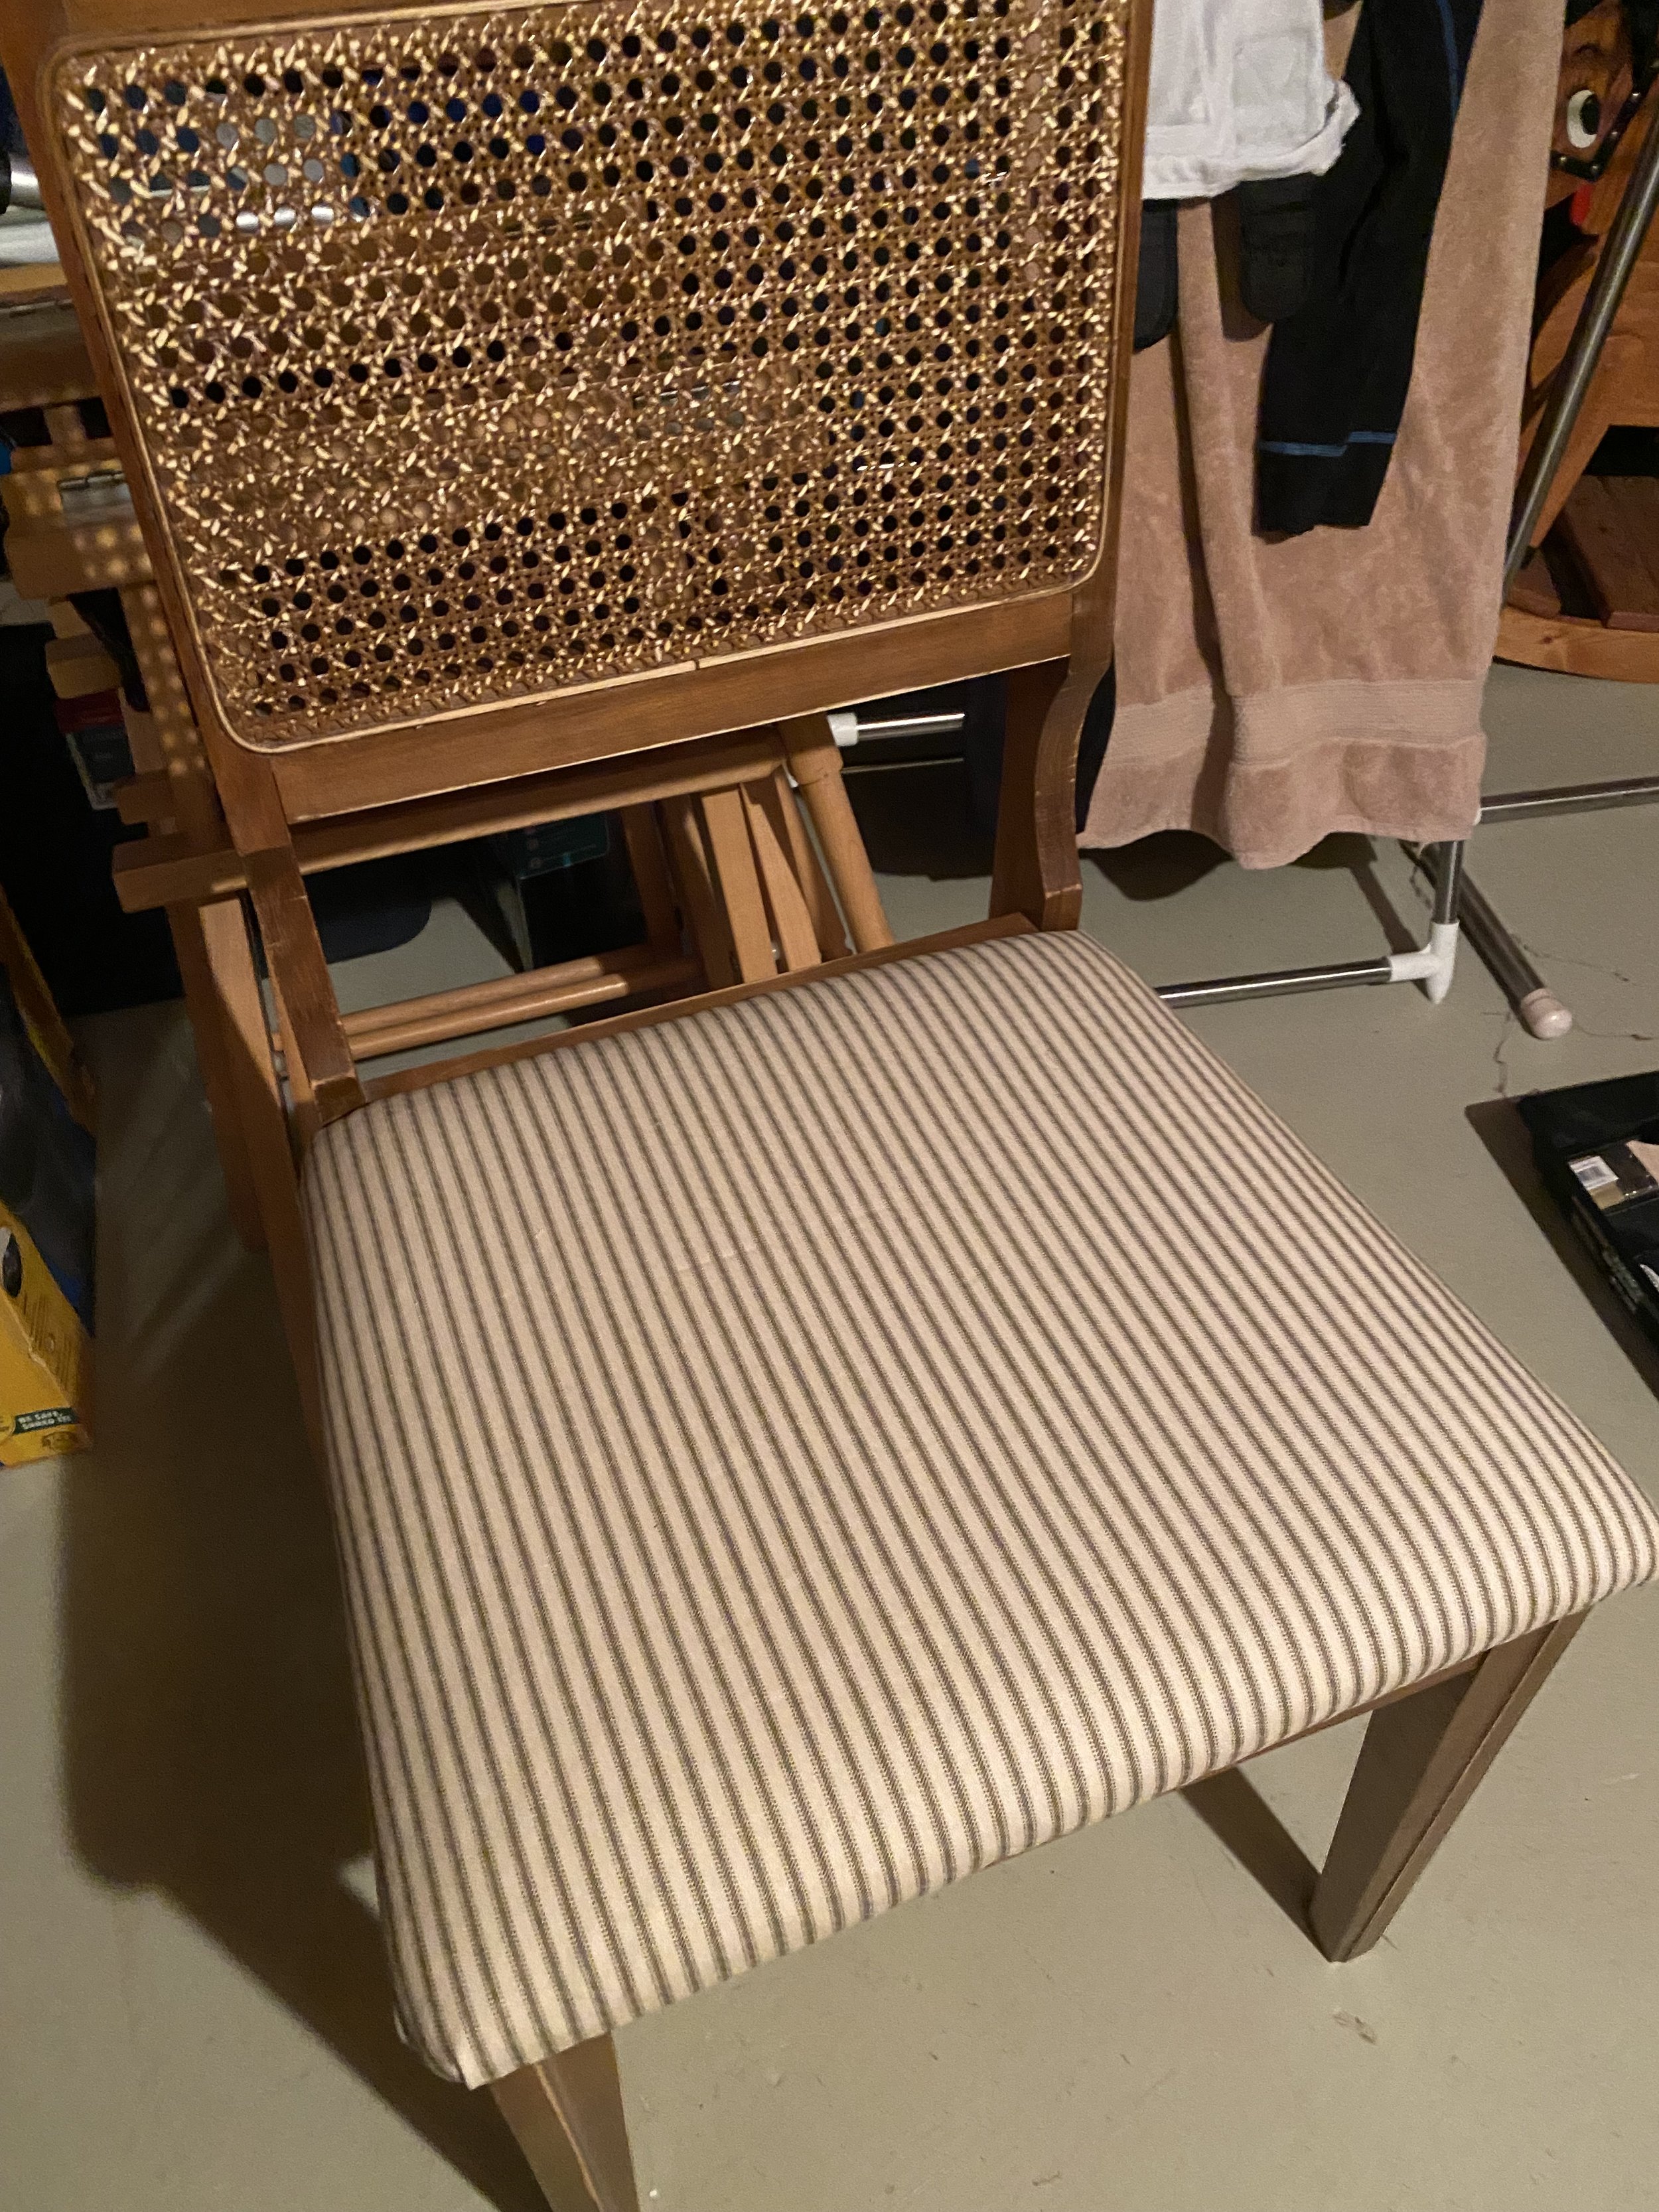
The goal was to re-imagine a chair, take something old (or new!) and turn it into something completely different. I decided to go the vintage route, which if you know me is totally my favourite. I started off by scouring Facebook Marketplace for a vintage piece ready for a new life. That’s when I found this gorgeous cane-backed dinning chair.
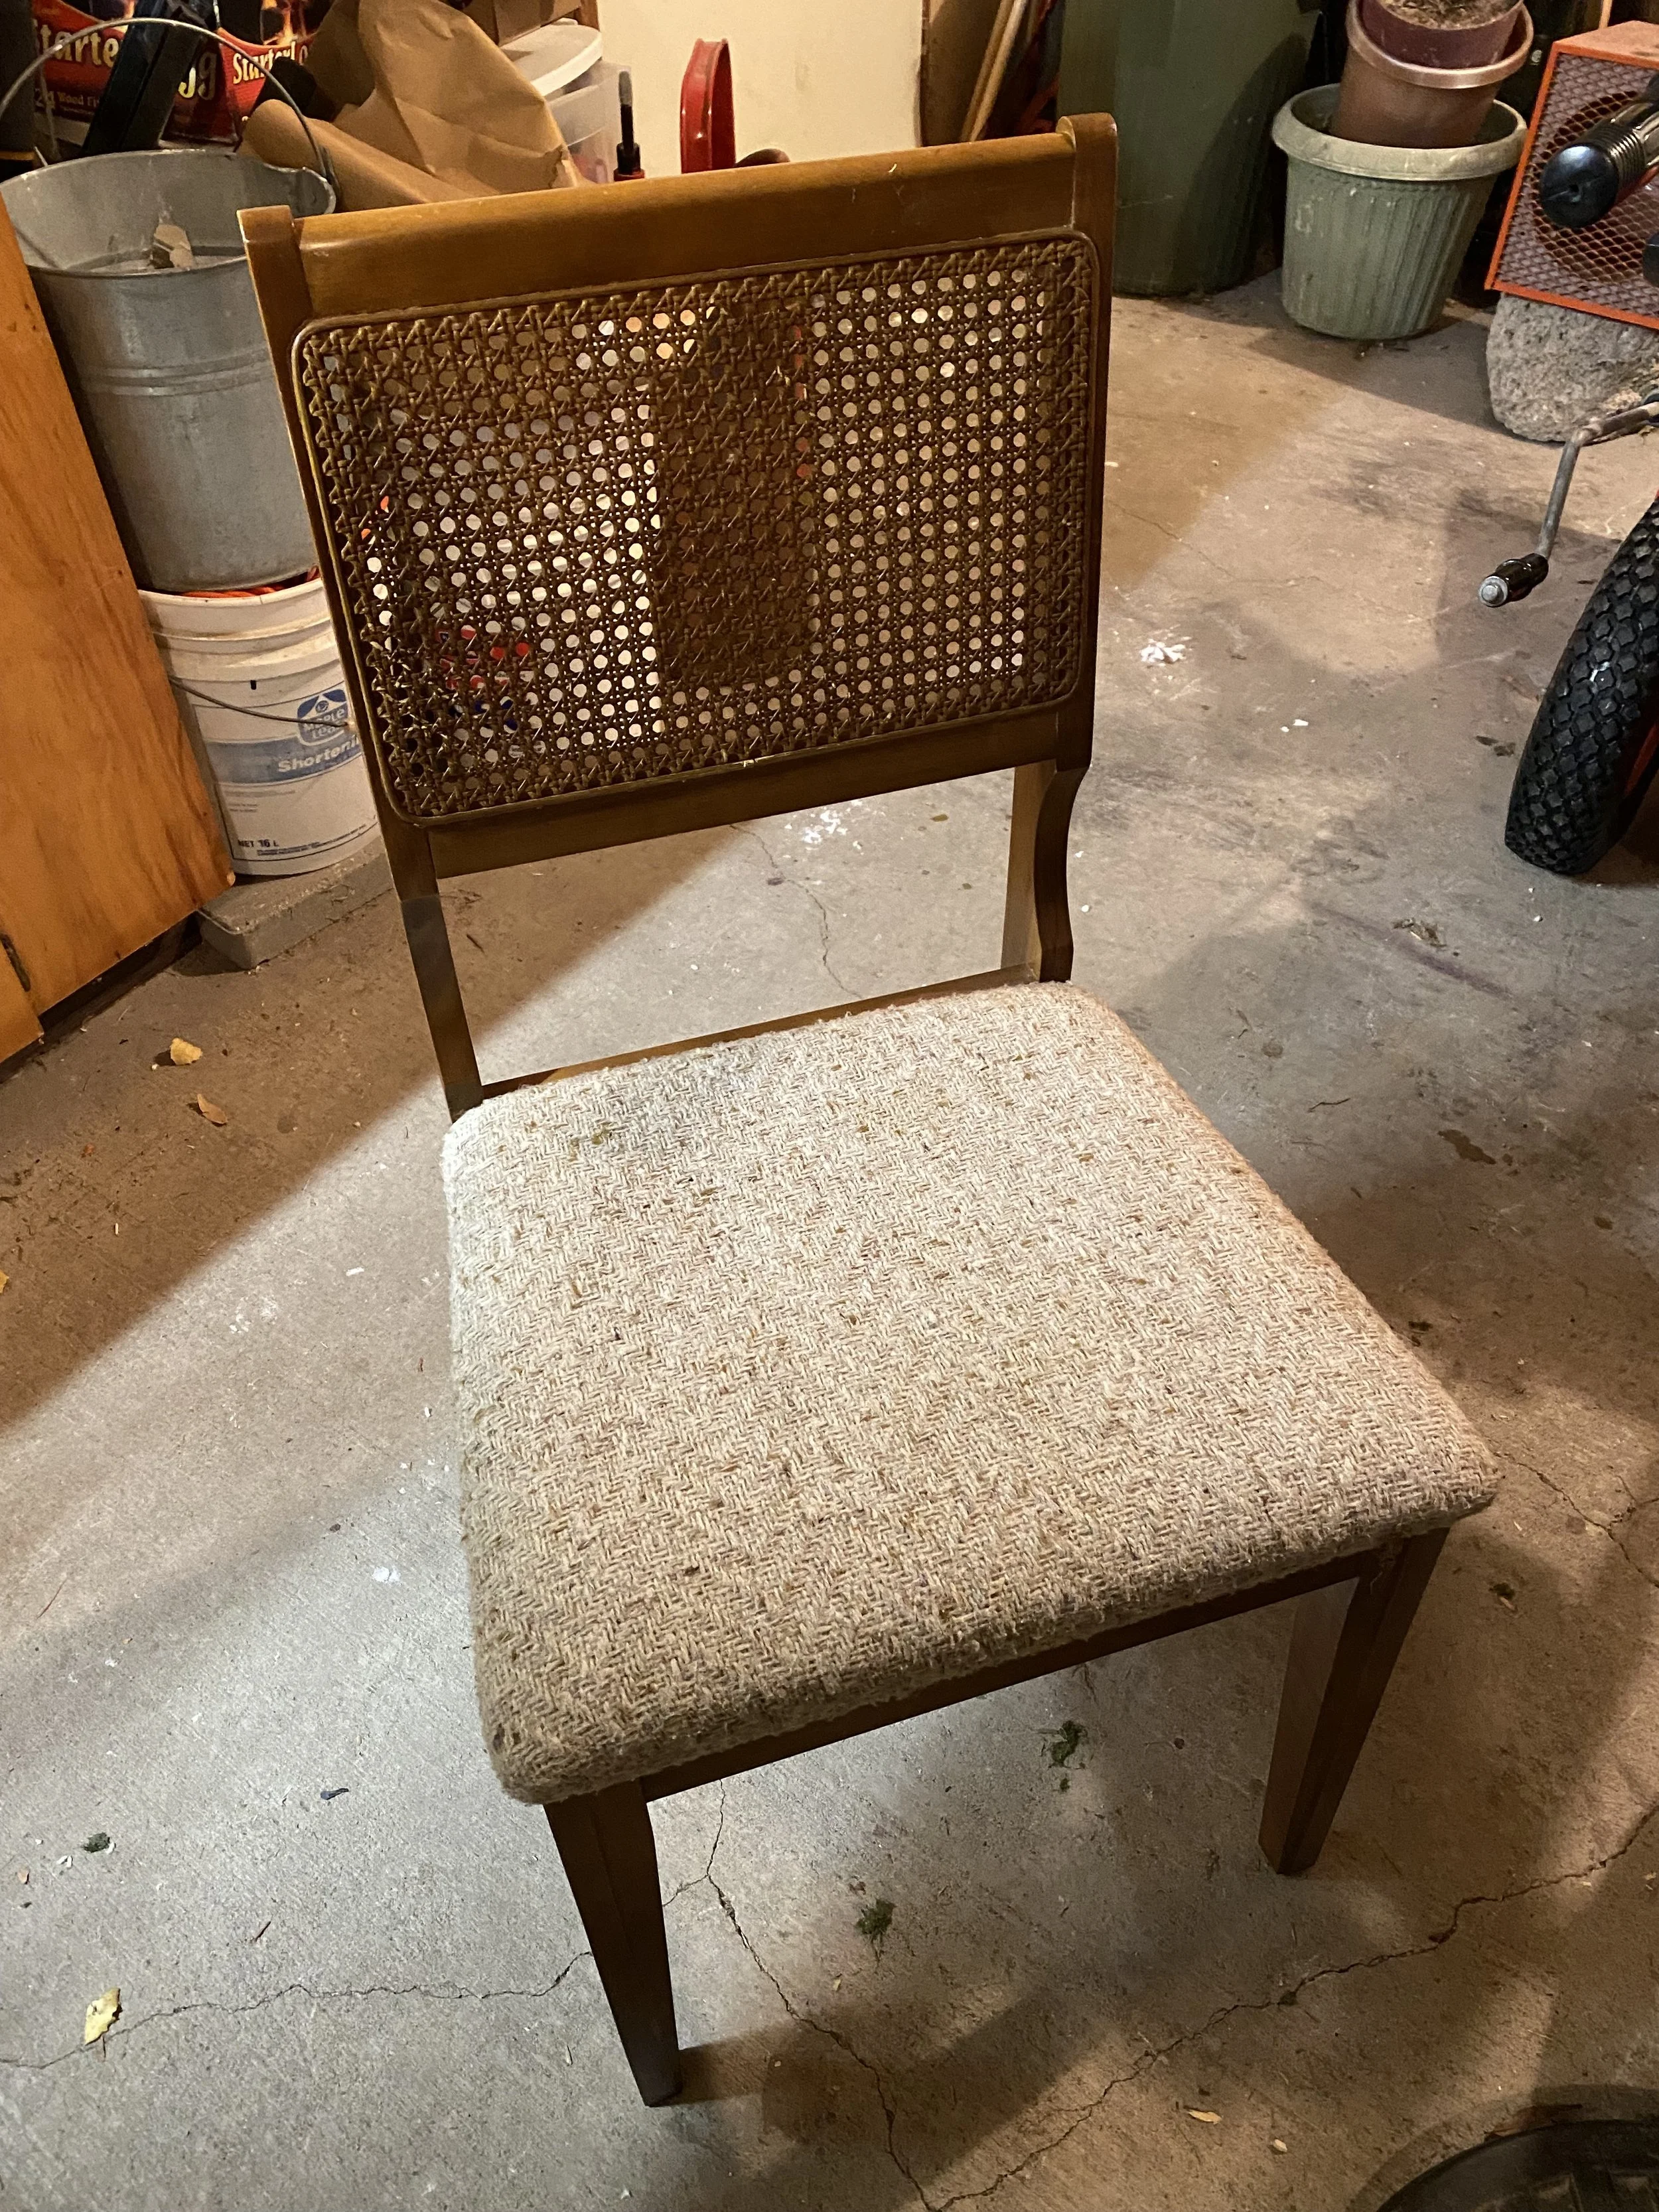
It was solid wood, had a comfortable seat, had the trendy cane webbing back, and was marked up in need of a coat of paint. It was perfect. I started the journey to refinishing the chair by polling my Instagram followers. As I was going to be giving away the chair at the end of the show, I wanted to make sure it was something that my followers would love. I knew though I wanted to turn it into a vanity chair, a special piece someone would be happy to have sitting at a gorgeous vanity.
I asked them if it should be painted sage green or cream, if the fabric I found would work and what I should do with the cane webbing.
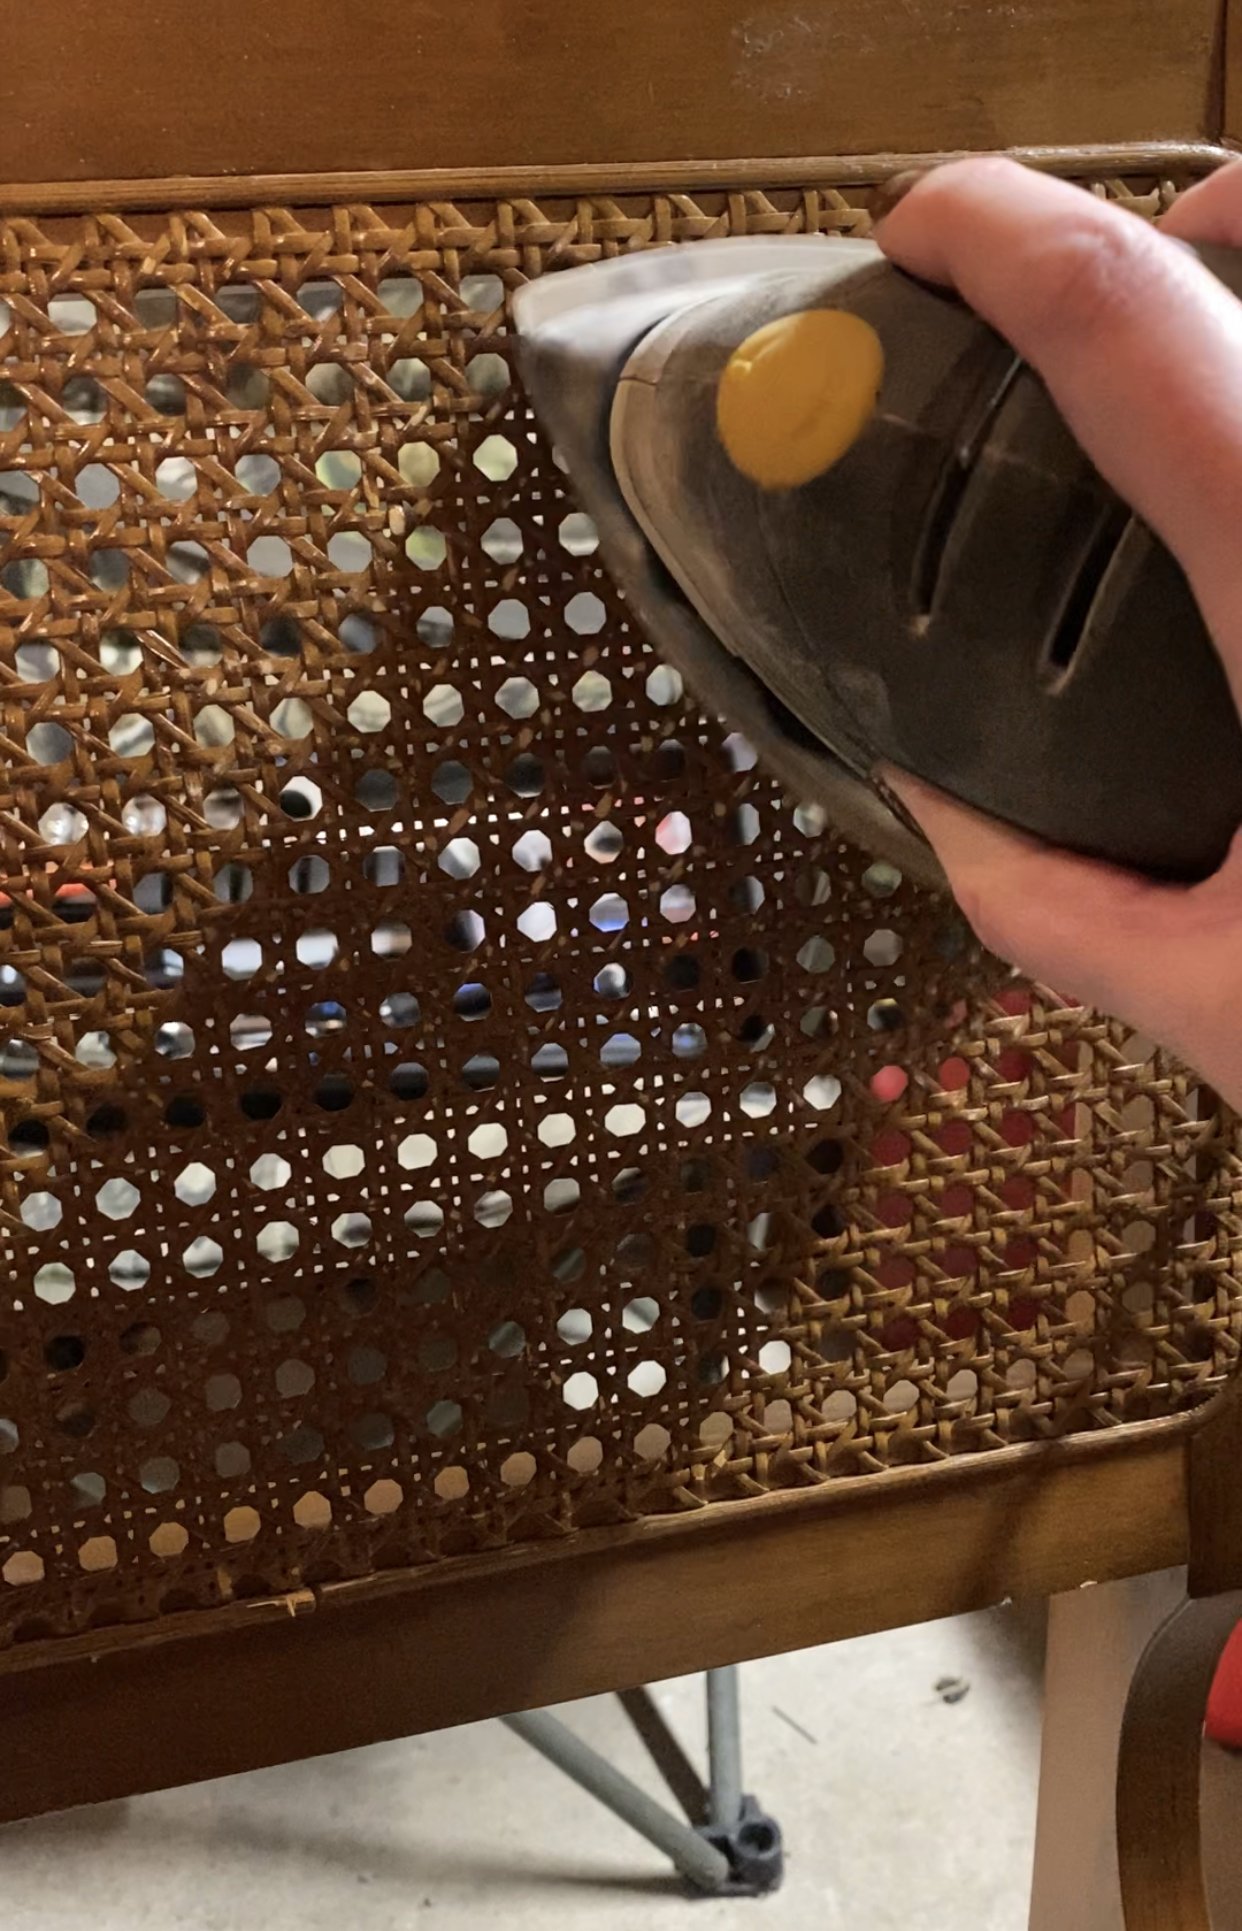
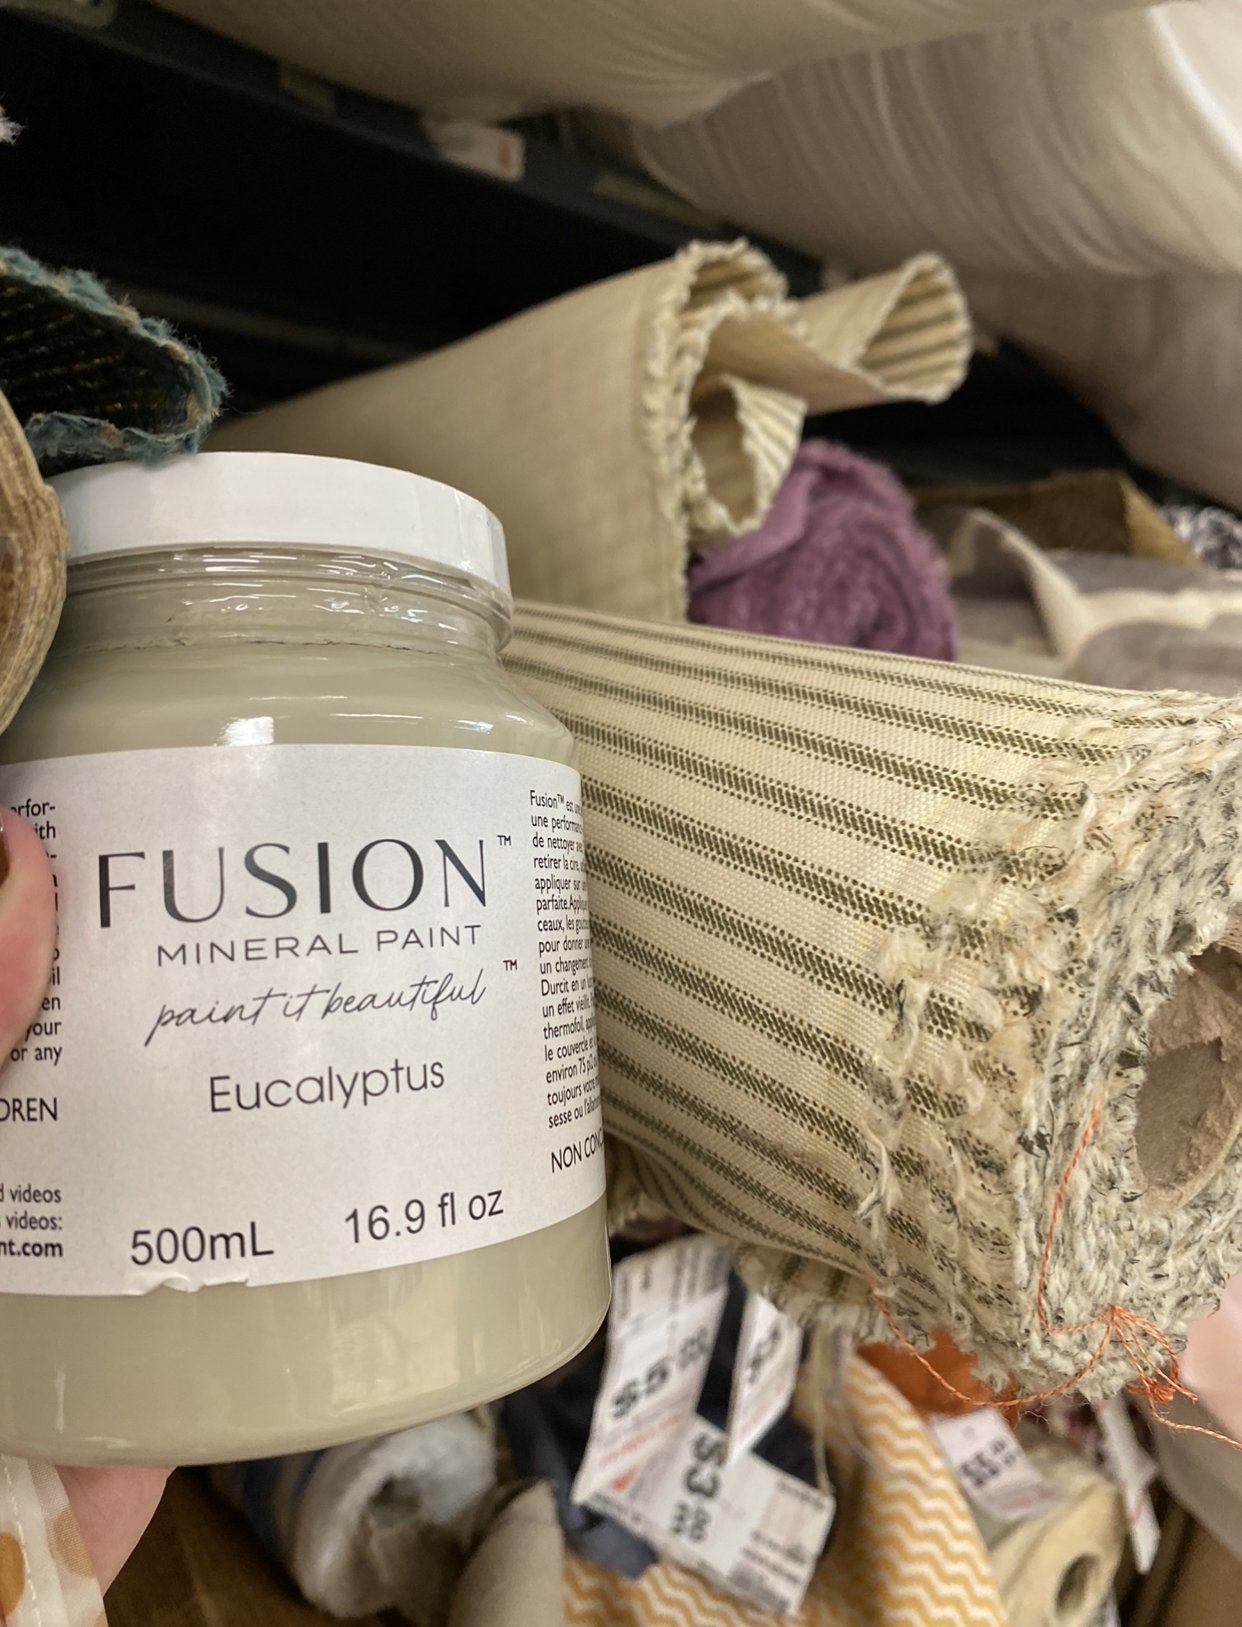
Let’s start with the paint, the sage green was a hit. I went for Fusion Mineral Paint in the shade Eucalyptus. Then I found this gorgeous sturdy striped upholstery fabric at Fabric Land. The last part to tackle was the cane webbing. The winning response was to try and remove the stain and leave the cane it’s natural colour. But after attempting to sand it down, I knew I was going to have to paint it. So I ended up going with a beautiful creamy off-white from Fusion Mineral Paint called Chateau.
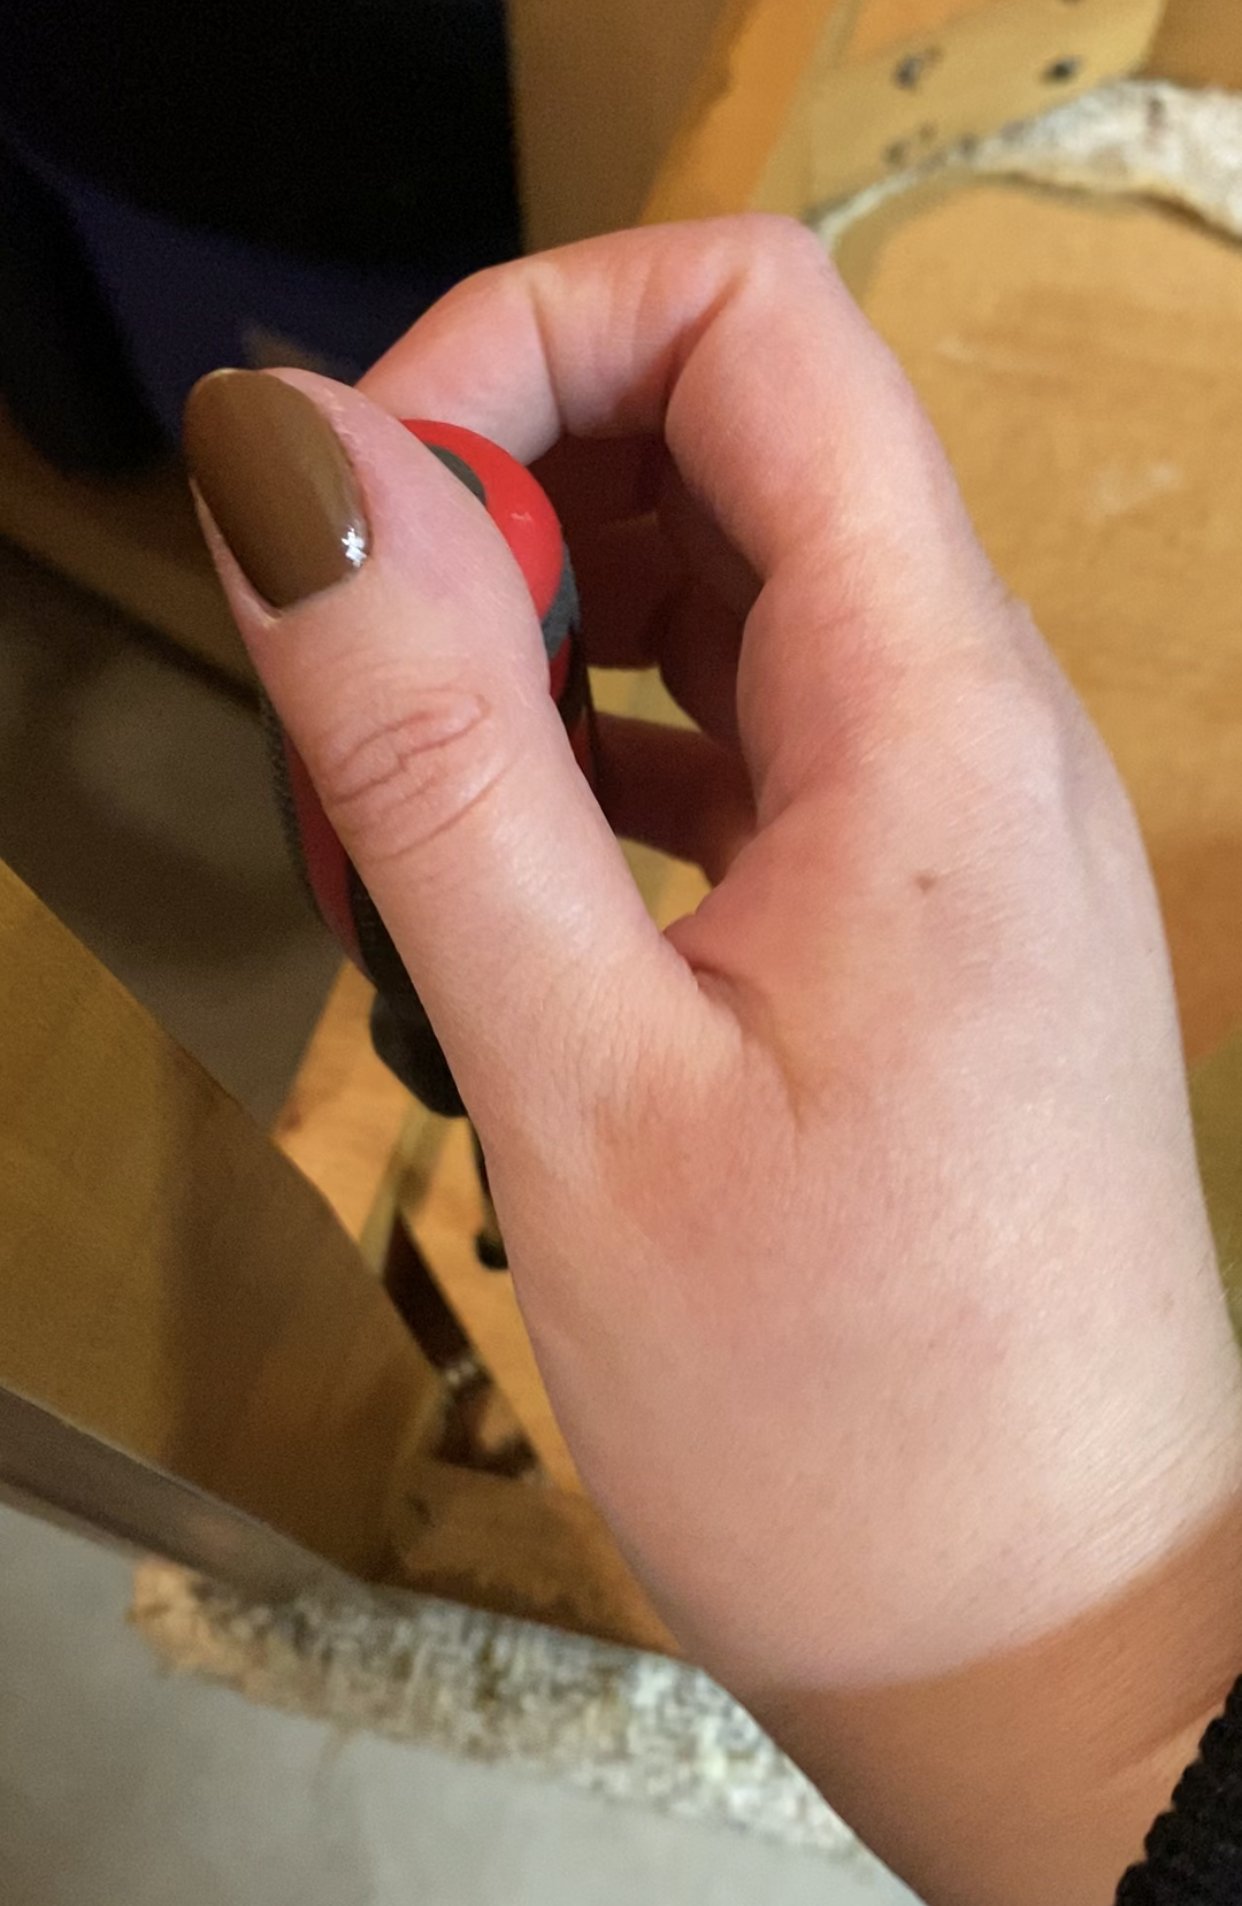
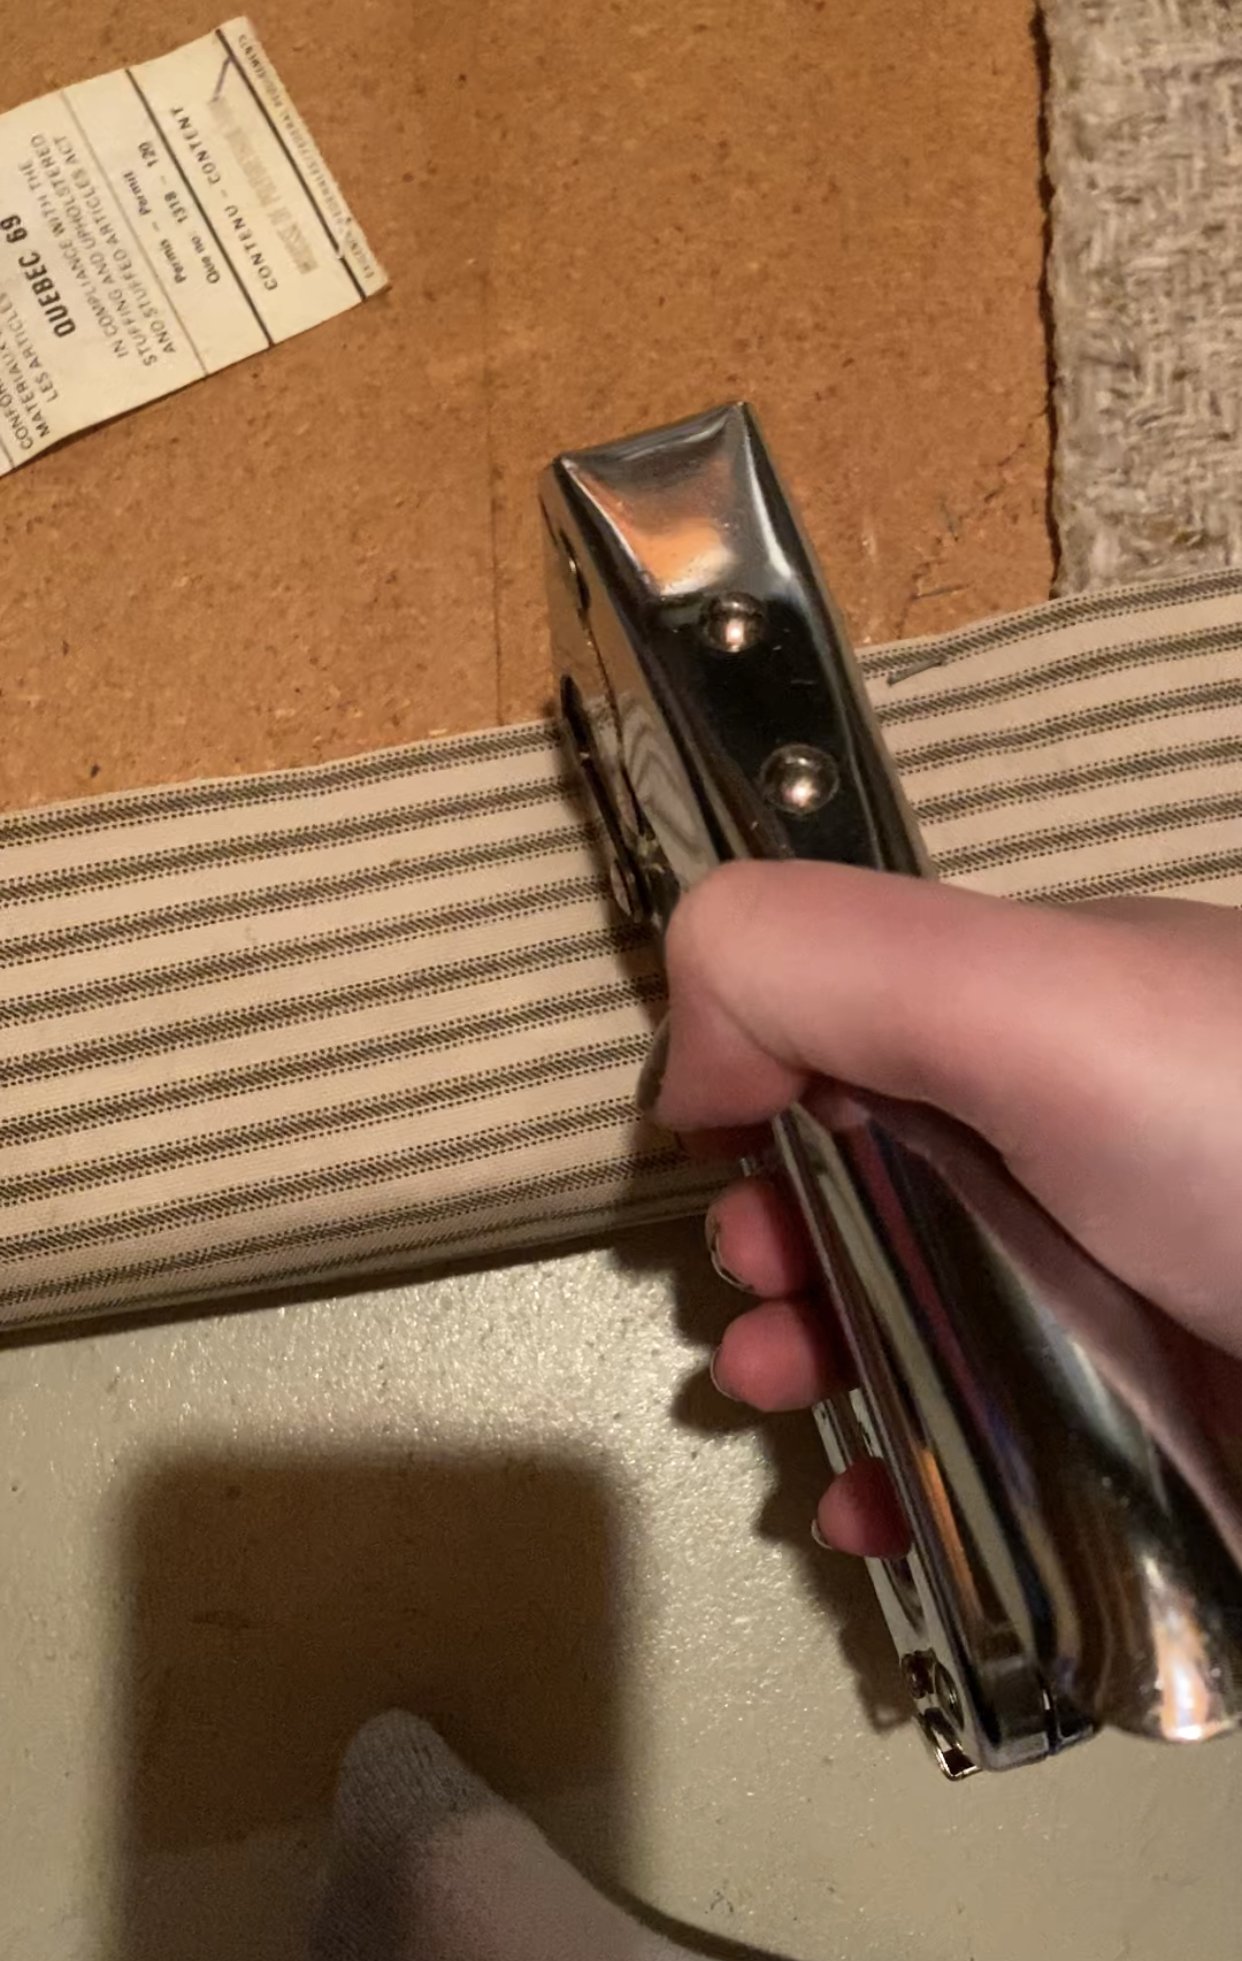
Once I had my decisions made it was time to get to work. I started off by taking off the seat and sanding the whole chair just enough to give it texture so the paint would stick. Once that was done I cut out a piece of fabric, making sure to leave extra, and staple-gunned it to the seat. Stretching the fabric tightly so it wouldn’t crease.
Then it was time to paint. At the store where I bought the paint the sales clerk, who had experience with redoing furniture, assured I didn’t need to prime or put a top coat on with the paint I chose. So I just went on to painting the cane webbing in Chateau first. I took my time and probably ended up doing three-four coats to ensure all the nooks and crannies were covered. Once I finished that I painted the rest of the chair in Eucalyptus. It took two good coats with just a brush.

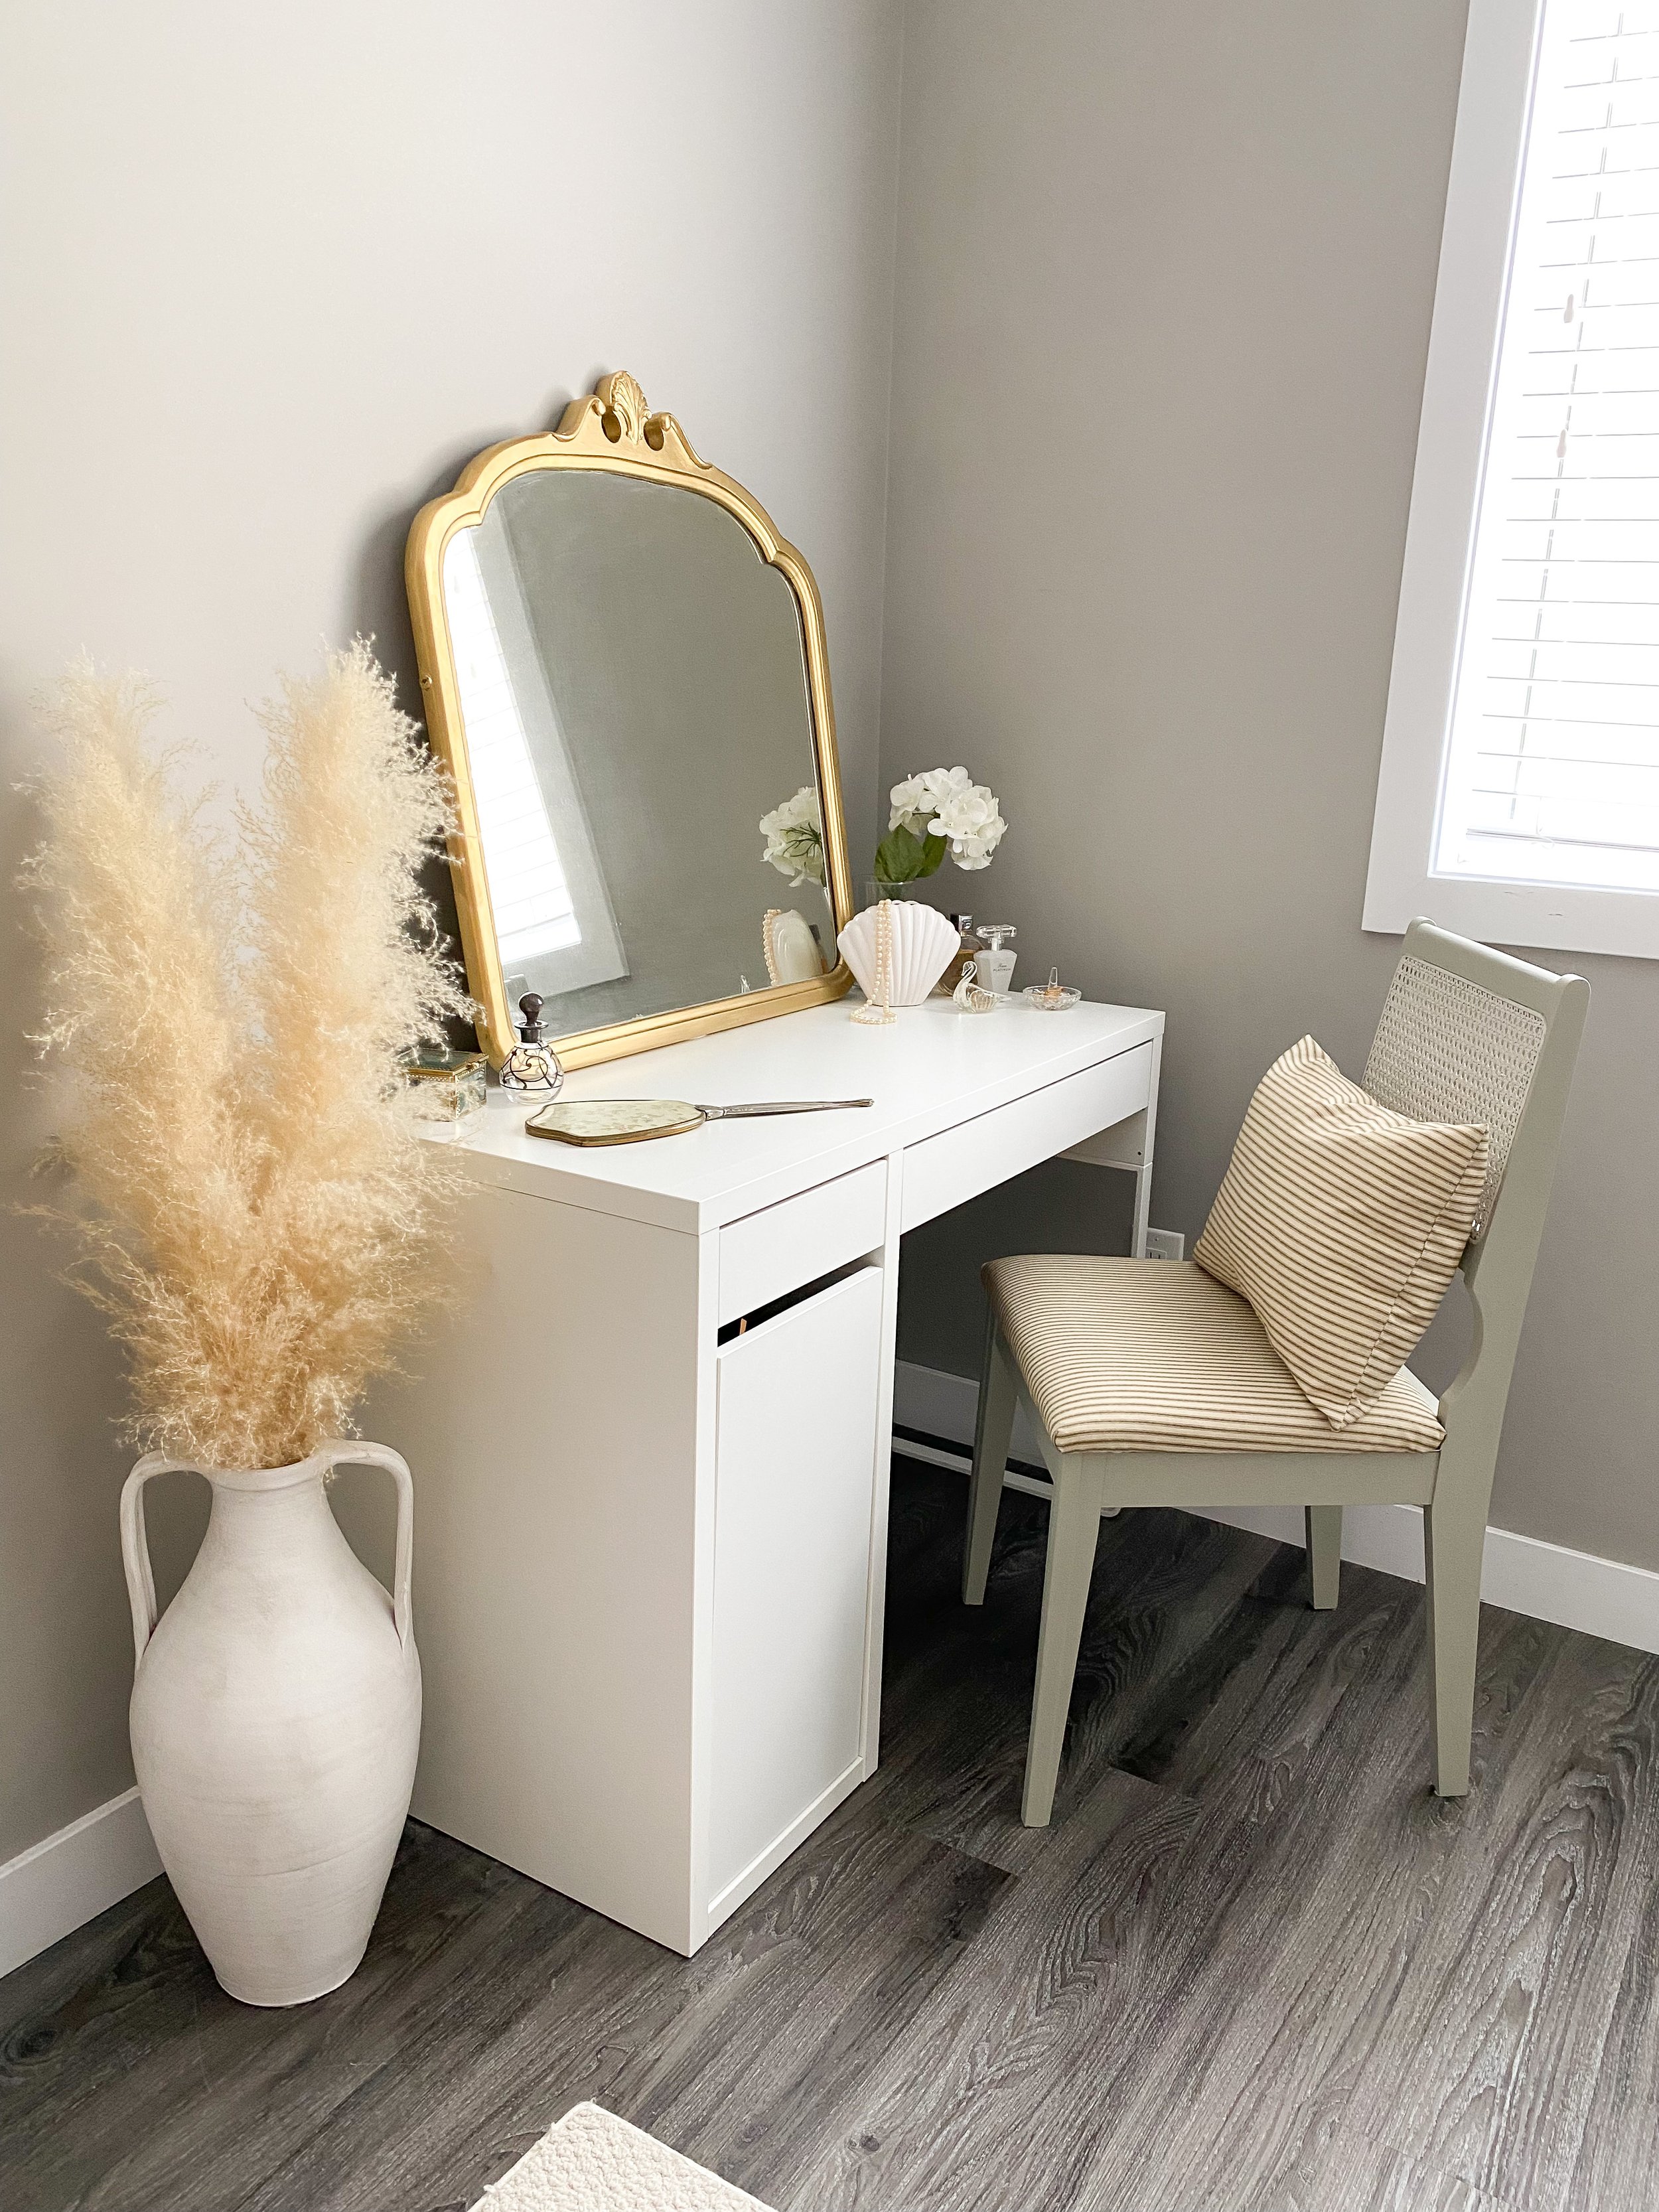
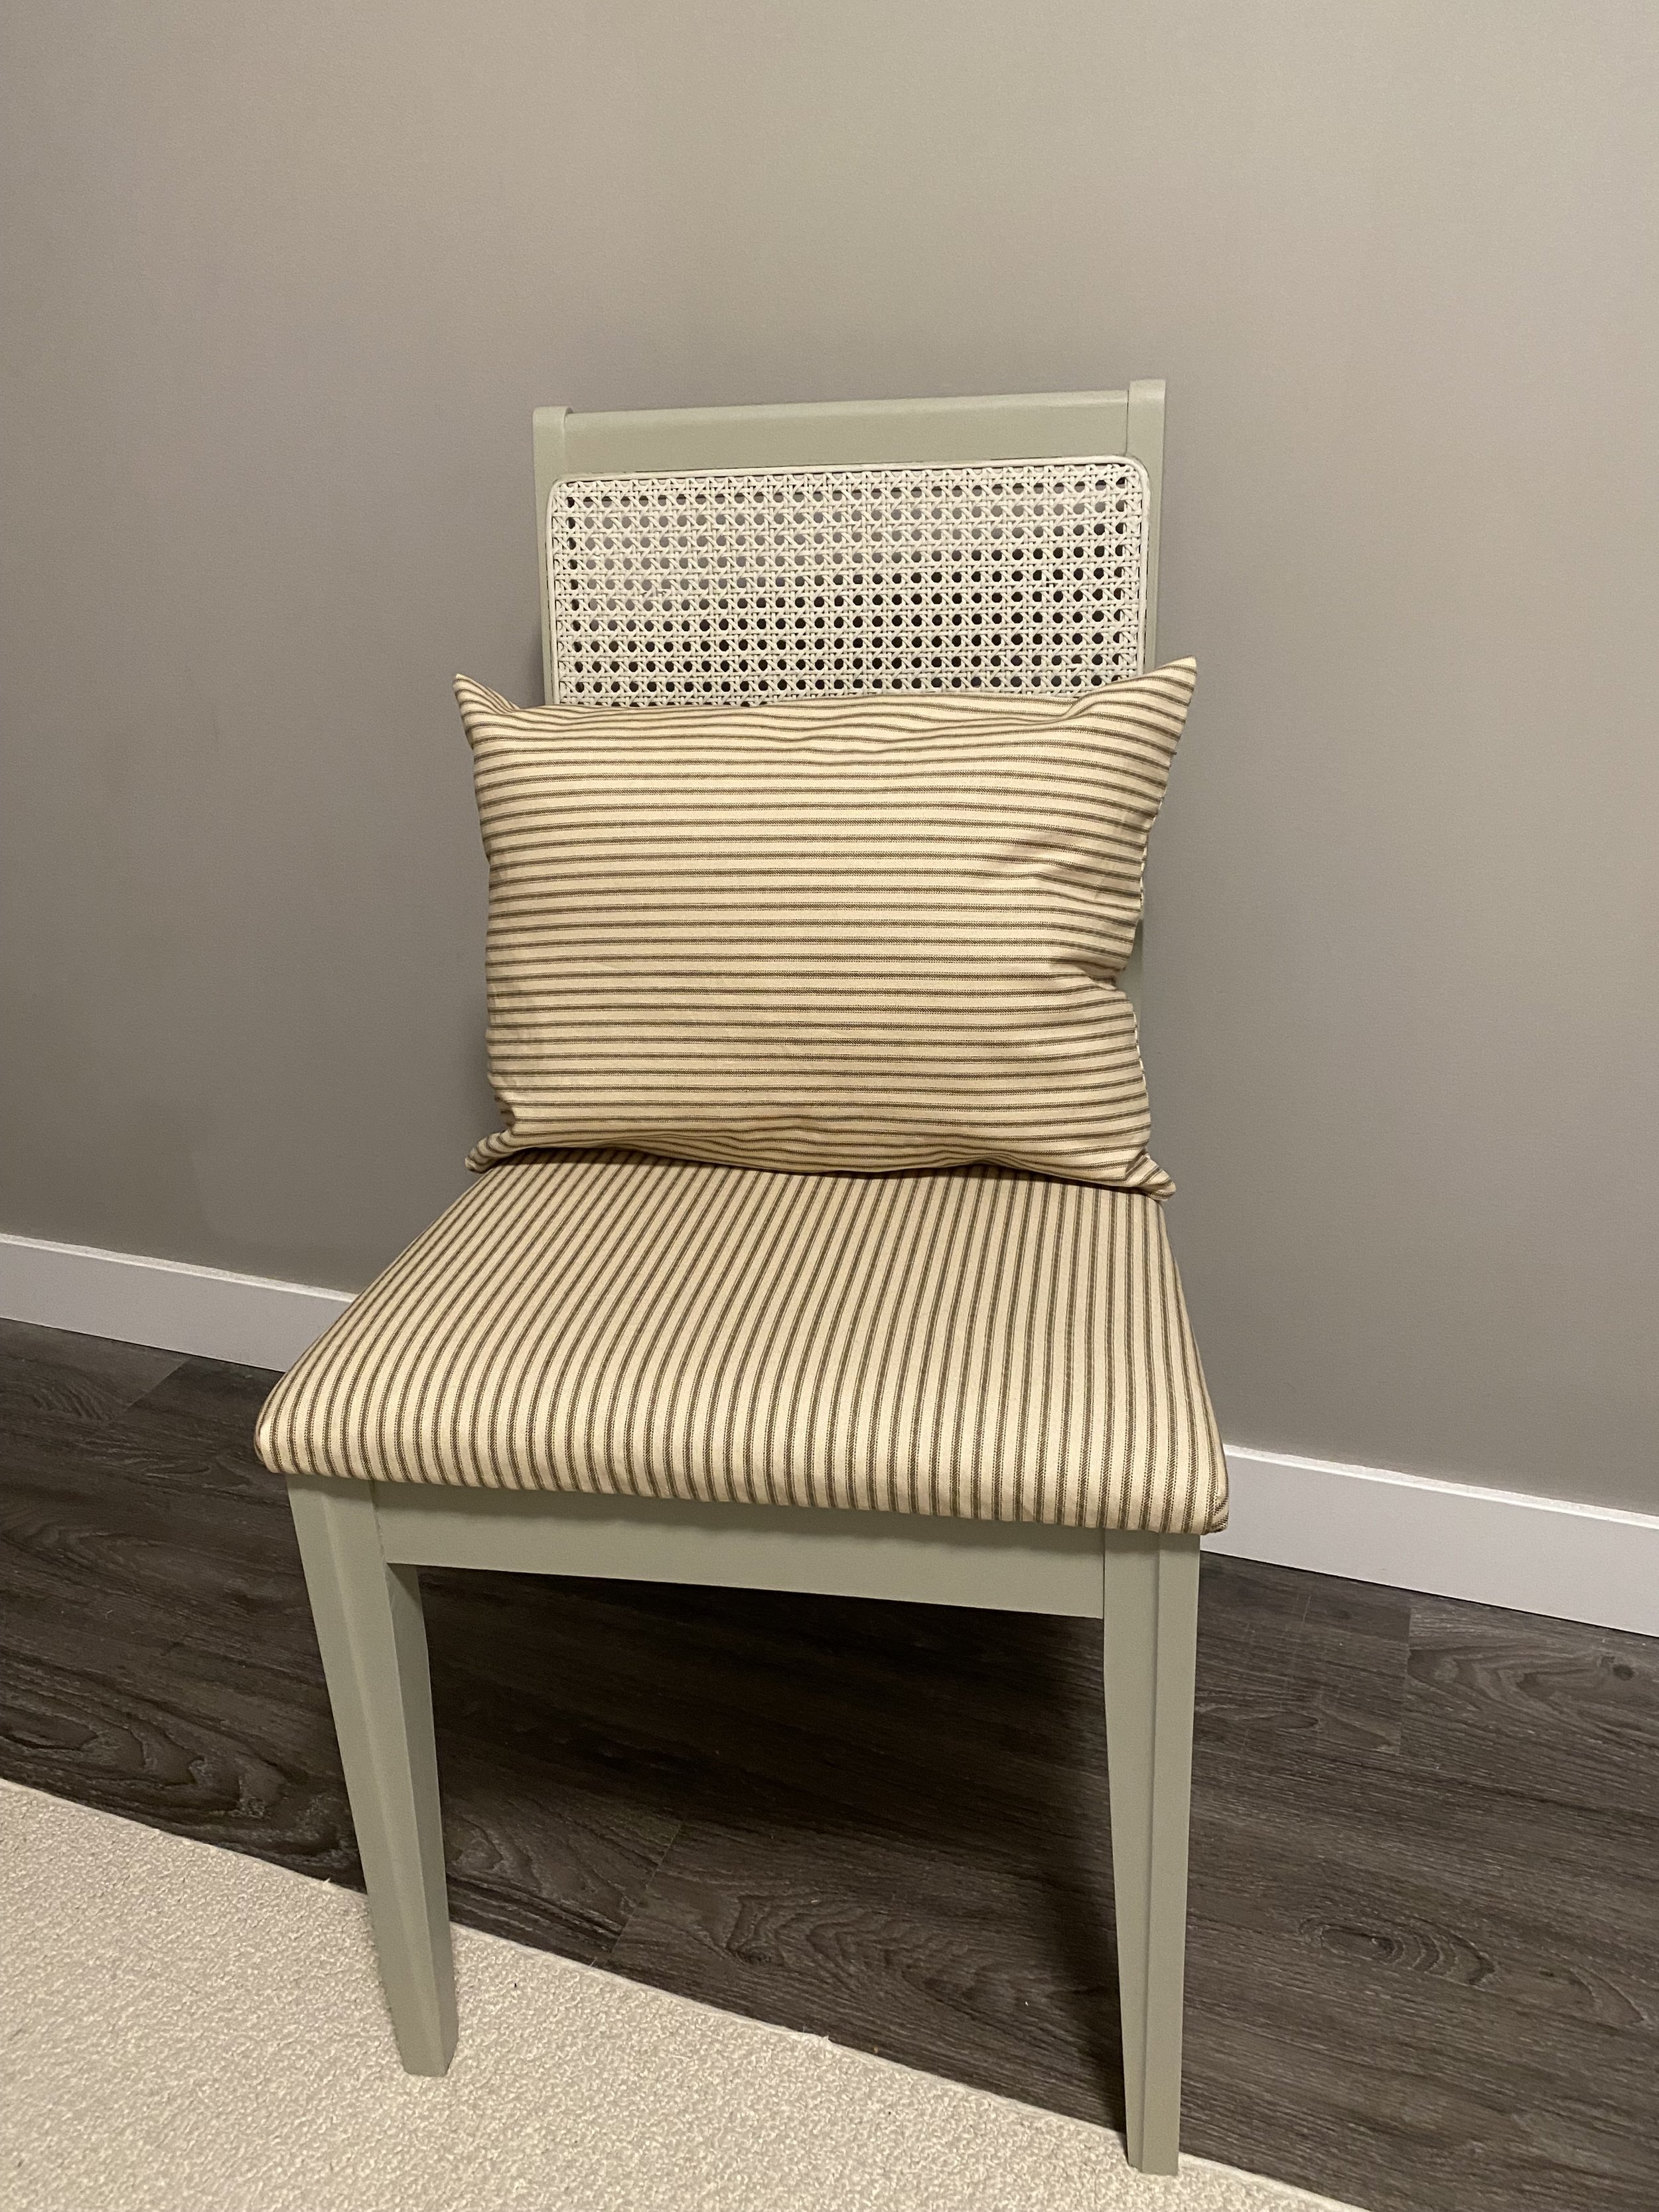
Once I finished painting the chair, it was time to screw the seat back on. But I wasn’t done yet! I had so much left over fabric, I got a pillow insert and made a matching pillow for the chair and for extra comfort.
And with that, here is my finished product! I’m honestly so happy with how it turned out. I love the colours and I think the stripes were the perfect pattern to go with for the seat (and bonus cushion!).

I loved doing this project so much, and I have so much left over paint I found another vintage chair on Facebook Marketplace to redo for my bedroom. The shape of it gives me such ‘Bridgerton’ vibes so that’s what I’m going with. Stay-tuned I’ll be posting about it on here and over on my Instagram.
Have you ever refinished any furniture? If so comment below with what you did!
xo, V